privateeyepi sketch (steps 2 and 3 of alarm system tutorial)What you will need
- ESP32 Development board. There are many variants available but make sure GPIO pins 16 (TX2) and 17 (RX2) (Serial Port 2) are exposed. The ESP32 has two hardware serial ports and we will be using Serial Port 2 to connect the Flex RF module, so that you can use Serial Port 1 for debugging.
- Breadboard(optional if you want to interface JemRF sensors) for easy installation. Both the ESP32 Development Board and the Flex Module are designed for prototyping breadboards but, of course, could be soldered together if that is your preference.
- Jumper wires.
- Micro USB to USB 2.0 connector to connect the ESP32 to a PC.
- A PC is required to load firmware on the ESP32. We will be using the Arduino IDE that has client available for Windows, Mac or Linux.
- A DS18B20 sensor, or DS1820 waterproof sensor.
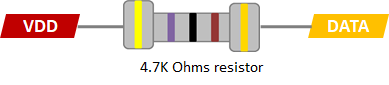
- 4.7k Ohm resistor.
What you need to know
- Some basic low voltage electrical experience is advantageous but not necessary. The electrical construction is very basic and could be achieved with no knowledge of electronics.
- Some basic programming knowledge and prior experience with the Arduino IDE. Again not absolutely necessary but it will make the learning curve a bit easier.
Step 1 - Wiring
-
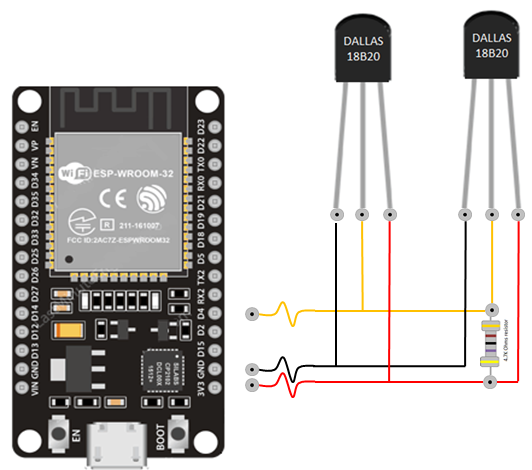
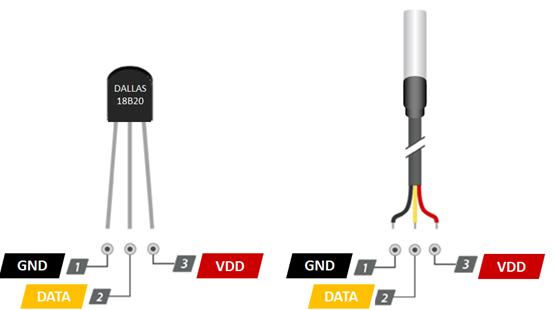
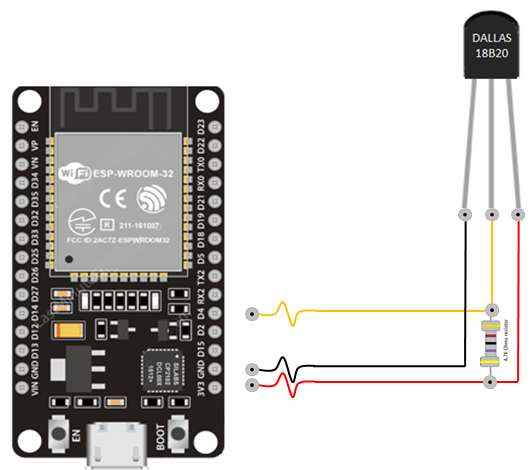
The DS18B20 sensor has three connections : VDD, DATA and GND. As per the following picture make the four connections between the DS18B20 sensor and the ESP32 Development Board:
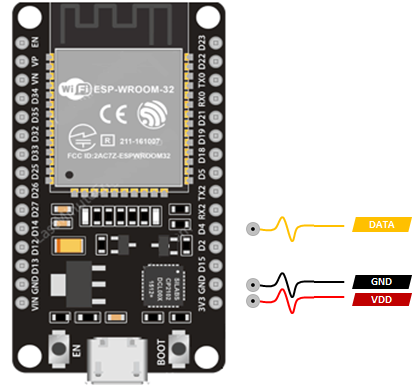
- Connect ESP32 GND to the leftmost pin on the DS18B20 (or the black wire on waterproof sensor).
- Connect ESP32 D4 pin to the middle pin on the DS18B20 (or yellow wire on the waterproof sensor).
- Connect ESP32 3V3 pin to the rightmost pin on the DS18B20 (or red wire on the waterproof sensor).
- Connect the 4.7k Ohm resistor between VDD and DATA.
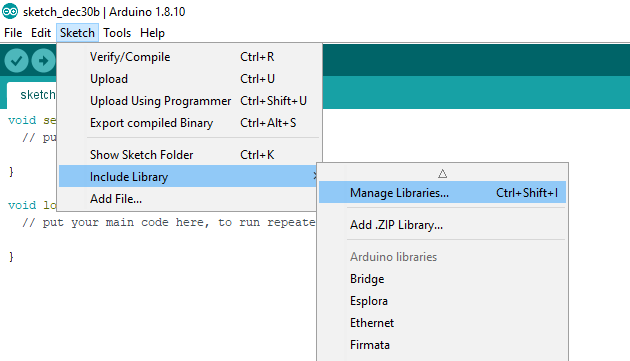
Step 2 - Install the DallasTemperature library
- Open the Arduino IDE and select Sketch->Include Libraries->Manage Libraries option.
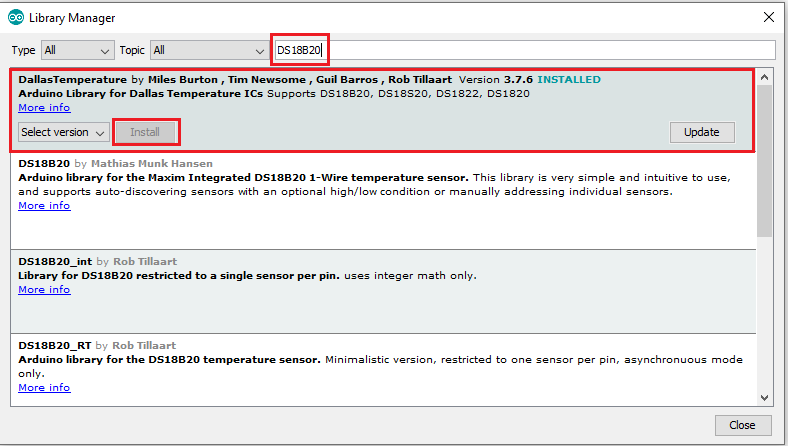
- Search for the
DallasTemperatureorDS18B20library and then clickInstall
Step 3 - Configure the privateeyepi sketch
- Open File Explorer (or your equivalent file manager on your OS) and open up
~\Adruino\Libraries\rflib-master\pep.hwith your favorite file editor. - Look for the following line near the top:
//#define DS18B20
- Remove the
//and save the file. Removing this tells the compiler to include the DS18B20 library in the compile. - You can also configure the send frequency using the line below:
#define DS18B20_INTERVAL 300000 //5 minutes
- The default interval that temperature readings are sent to PrivateEyePi is 5 minutes (or 300000 ms). You may want to lower it to make testing easier, but be sure to set it back to 5 minutes otherwise the PrivateEyePi server could lock your account if you send too many readings per minute.
- Connect your ESP-32 Development Board to the USB connected to your computer.
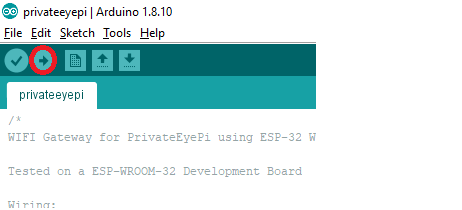
- Open up your
privateeyepisketch you created in step 2 of the previous tutorial and click the upload button in the Arduino IDE.
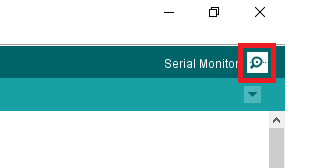
- Once the sketch has loaded then open up the Arduino serial monitor by clicking magnifying glass icon on the top right.
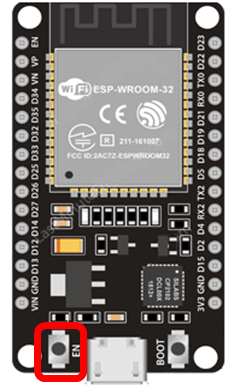
- Press the reset button on the ESP32 Development Board.
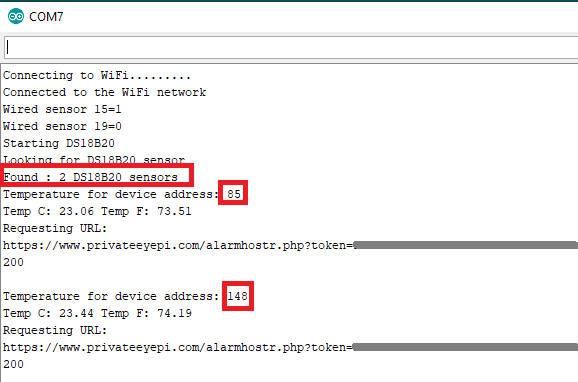
- Check whether the DS18B20 sensor is being detected. You should see something like this:
-
Highlighted in red above you can see that two sensors were detected and the sensor unique identifier is also highlighted in red. This is the identifier used as the sensor number to send to PrivateEyePi.
-
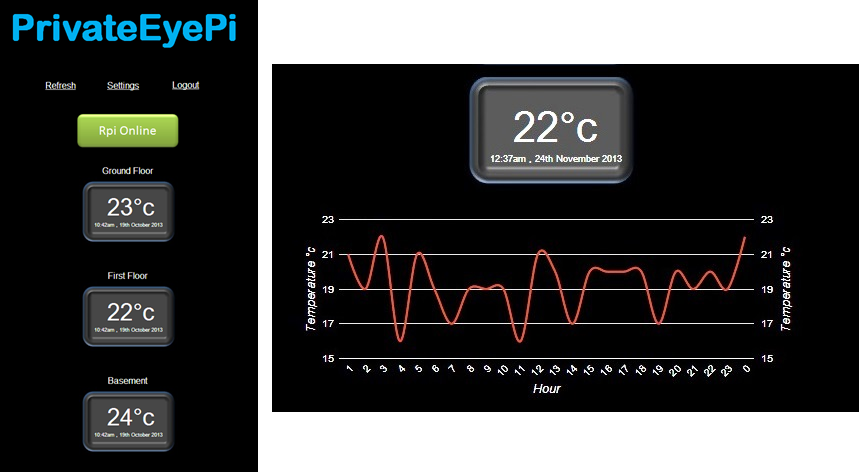
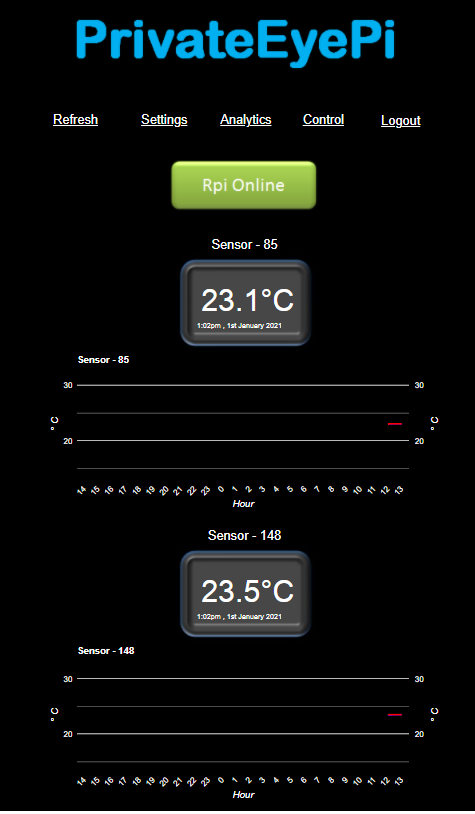
Verify that the data is being sent to PrivateEyePi correctly.
How to wire multiple DS18B20 sensors to an ESP32 Development Board
One of the great advantages of the DS18B20 sensor is its ability to wire them together and share the same single data wire. Each DS18B20 sensor has a unique 64bit address burned into the sensor that allows you to address each sensor individually over a common data wire. This allows you to connect as many DS18B20 sensors as you like and only use one GPIO pin on the ESP32 Development Board.
To add multiple DS18B20 sensors simply wire them up to the existing circuit you built in Step 1 above. You do not need to add another resistor. No other configuration is required in the software. It will automatically detect the new sensor.