Introduction
The WiFi Wireless Gateway (WiFi Gateway) receives messages from the Wireless sensors and sends them to the PrivateEyePi or JemRF Monitoring service. This eliminates the need for a Raspberry PI computer and all that extra overhead. The Gateway provides an easy to use tool to get your wireless sensors online free of configuring and programming a computer first.
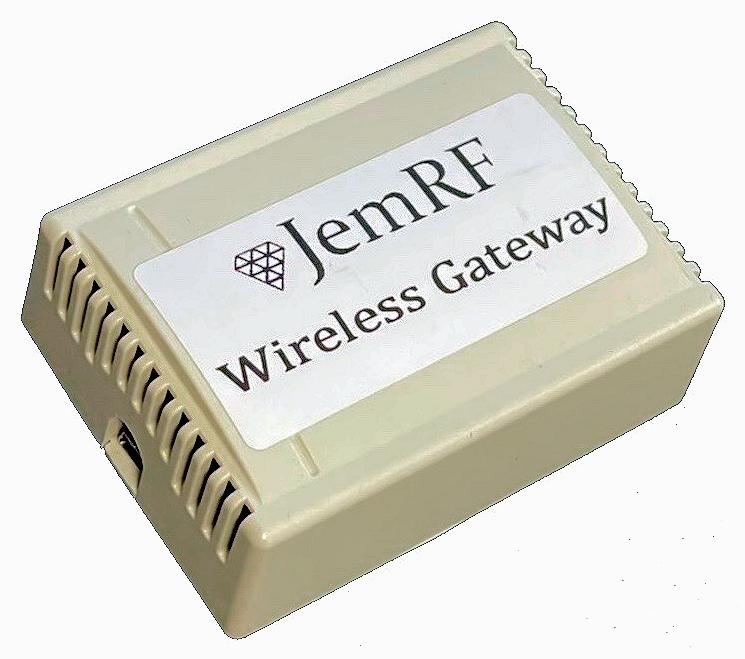
The WiFi Gateway is in the same physical case as the current WiFi IoT Sensors.
- Follows the same setup process as our WiFi IoT Sensors to connect to the local WiFi.
- It has option to send Celsius to Fahrenheit readings.
- Using a USB-mini connector for power.
- It provides a Sensor List overview page to show all the sensors it is tracking and their last value.
Tech Specs
- Dimensions 74mm x 55mm x 28mm
- Powered either by USB Mini cable and USB power supply, or battery connection (2.5V to 3.5V) via the 2 pin battery connection plug
- Upgrades are done over the air using the Update button or can be done manually done using a 3.3V FTDI cable
Setup Details
The configuration page for the WiFi Gateway is very similar to the WiFi IoT Sensor. You can configure the Wireless Gateway using any device that supports WiFi and an internet browser. In this example we will use a desktop computer.
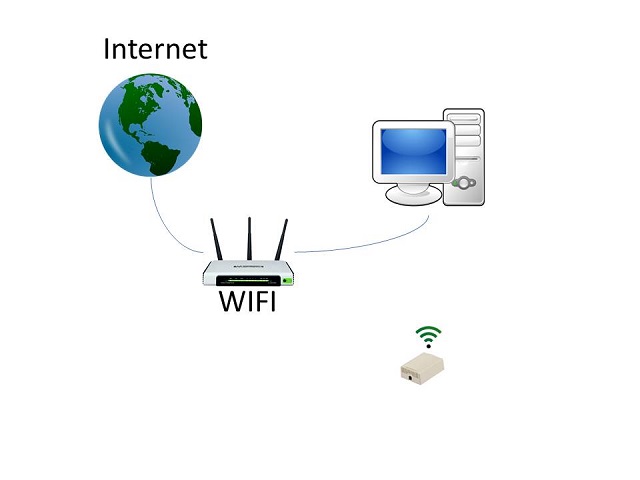
To make setup easy, the WiFi Gateway has its own Access Point.
Step 1 Connect to WiFi
The first step is to connect your smart device to the WiFi Gateway. Power up the WiFi Gateway and using your computer (or smart device) look for a WiFi connection that starts with JRF followed by some numbers. These numbers are the unique ID of your device. Connect to the device using the default password:
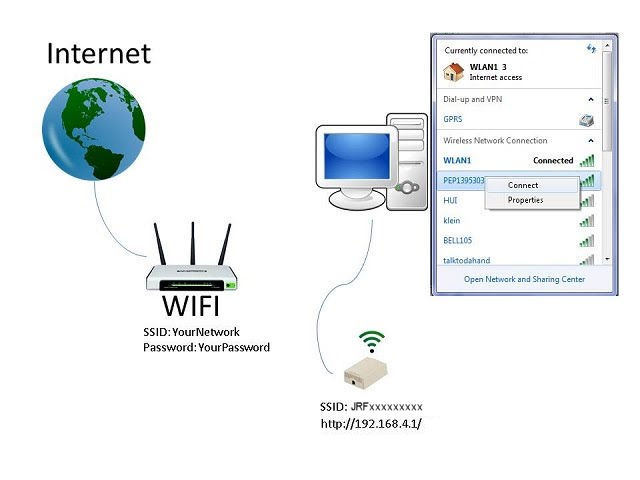
Password: WiFirelay
Step 2 : Configure SSID and Password
Now open up a browser and navigate to http://192.168.4.1/.

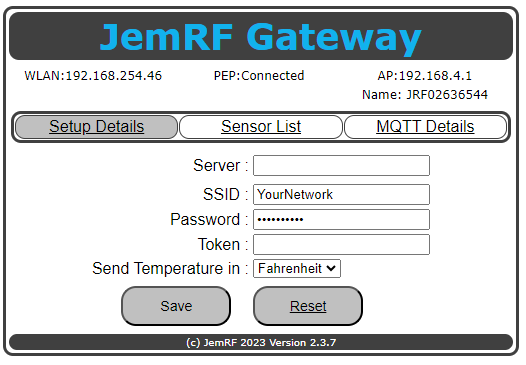
From here you configure your WiFi Settings.
Next enter the SSID and Password of your WiFi router and click on save.
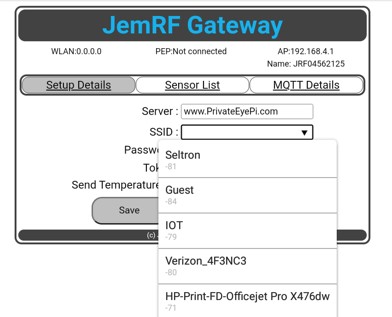
Wait a few moments for the WiFi Gateway to connect to the WiFi router. Click on the “Setup Details” menu option to refresh the screen. Once connected you will see the WLAN: IP address has given to the Wireless Gateway, as shown in the next image. In the example below it shows 192.168., yours will be different. What’s important is your gateway is now connected to the Internet.
Step 3 : Connect to Monitoring Server
The next step is to connect your gateway to one of our services so you can monitor the devices and create alerts. Both of our online services have a free tier. “www.PrivateEyePi.com” is our original service and it provides custom event triggering and well as basic monitoring. “monitor.jemrf.com” is our newer service, focused on monitoring with custom tolerance settings to trigger notifications to help alert when there is a problem. You are welcome to visit each to see which meets your needs and can sign up for both (only one will work at a time). Both use a token to link your device to your account. You can use the PEP Token on the Monitor service if you want to switch between the two.
www.PrivateEyePi.com
Sign-up instruction to create an account on PrivateEyePi are at: Create account and get Token.
On the WiFi Gateway Setup Details page, the Server setting is: “www.PrivateEyePi.com” Copy and paste the PEP token into the Token field as shown in the below diagram
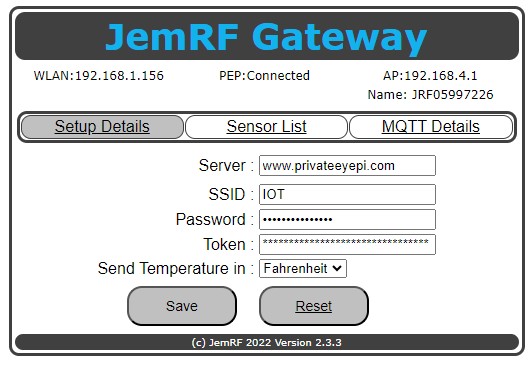
Clicking “Save” will connect the WiFi Gateway to the server. After a few moments, click on the “Setup Details” tab to refresh the screen, you will see “PEP: Connected” as shown in the image above. Once Connected, the Wireless Gateway is now forwarding Wireless Sensor data to the configured server.
Monitor.JemRF.com
You can also use monitor.jemrf.com to create and account and token. To create an account you select the Register option on top right. Once registered you will receive a validation email with a link. Click on the link and your account will be activated and ready for you to login.
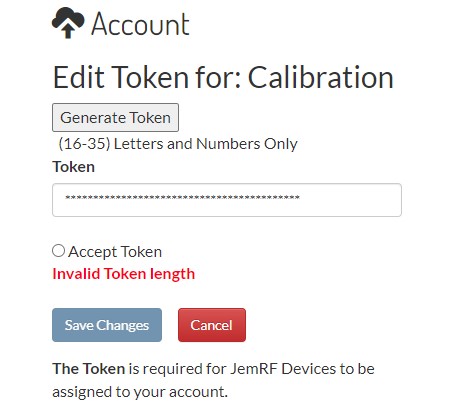
After you login, click on your name in the upper right hand corner a drop down menu will appear. Select Account and then click on the Edit Token button.
- If you have a PrivateEyePi token already you can paste it in the token field and click the Accept Token to validate it is unique and Save. Now the same token works for both servers.
- If you do not have a PrivateEyePi Token, click Generate Gateway Id and it will create a token for you.
Click the Accept Token to validate it is unique and Save.
On the WiFi Gateway Setup Details page, the Server setting is: “pep.jemrf.com” Copy and paste the Token into the token field as shown in the below diagram:
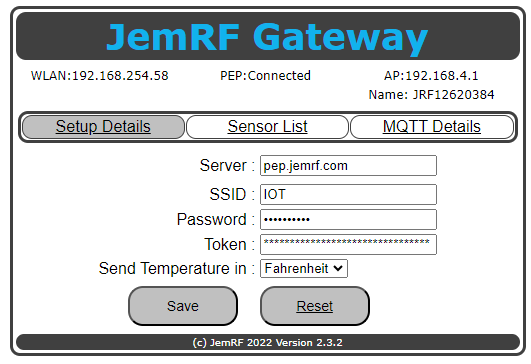
Clicking “Save” will connect the WiFi Gateway to the server. After a few moments, click on the “Setup Details” tab to refresh the screen, you will see “PEP: Connected” as shown in the image above. Once Connected, the Wireless Gateway is now forwarding Wireless Sensor data to the configured server.
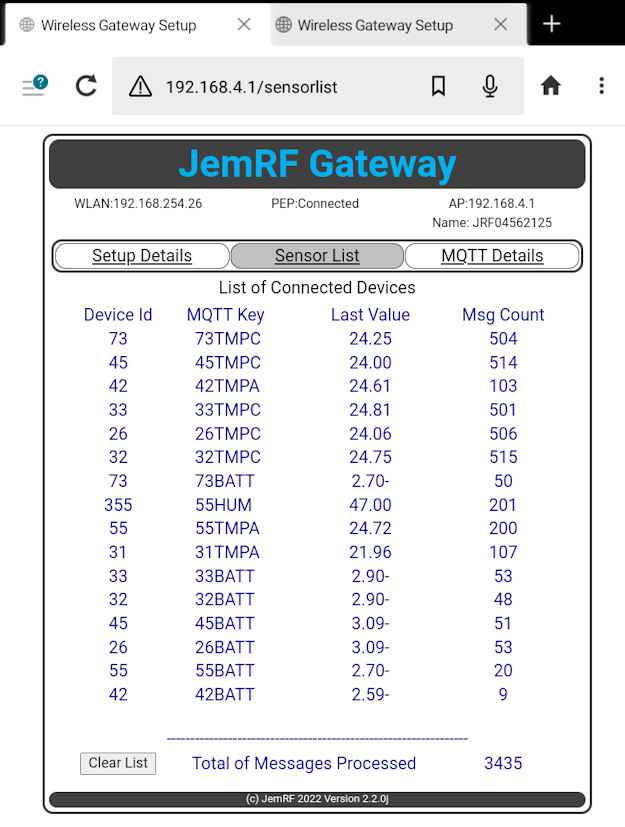
Sensors List
The Sensor List page shows the sensors that are connected to the gateway. These are the sensors the gateway is forwarding to the monitoring service. It also shows the last message from each sensor received by the gateway with how many messages have been forwarded for that sensor and a grand total of all the messages forwarded to the server.
The WiFi Gateway tracks messages for up to 64 Sensors.
MQTT Details
- Easy to configure web interface.
- Connects to MQTT Broker with or without a username or password.
- Tested with Mosquito Docker brokers and Emqx public broker.
- JemRF provides an MQTT Broker for customers.
Click here for details on the JemRF MQTT format with examples
Firmware Updates
The Gateway is normally updated over the Internet. Click here for Illustrated manual updating instructions
Mounting Instructions
Mount the Gateway in a vertical position with the USB connector down. There is a mounting hold on the back for this. Do not mount against a metal wall as that can block the WiFi and RF signals.